BASIC PRINTING
Overview
The following example explains how to print a document from the standard accessory application "TextEdit" in Mac OS X.

- To install the PPD file and configure printer driver settings, see "3. SETUP IN A MACINTOSH ENVIRONMENT" in the Software Setup Guide.
- The menu used to execute printing may vary depending on the application such as [Print].
- The machine name that normally appears in the "Printer" menu is [e-STUDIOxxxx]. ("xxxxxx" is a sequence of characters that varies depending on the machine model.)
Operation

Select [Page Setup] from the [File] menu and select the printer
If the printer drivers appear as a list, select the name of the printer driver to be used from the list.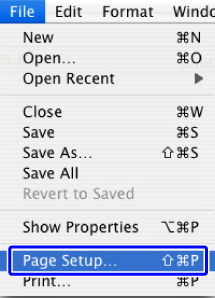

Configure paper and click the [OK] button
Set the paper size, paper orientation, and copy ratio.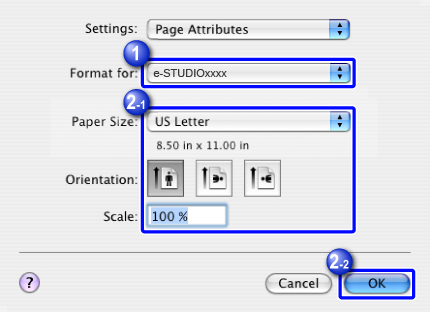

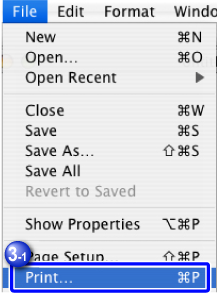
Select [Print] from the [File] menu. Make sure that the correct printer is selected
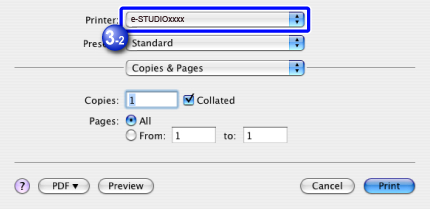

Select the print settings
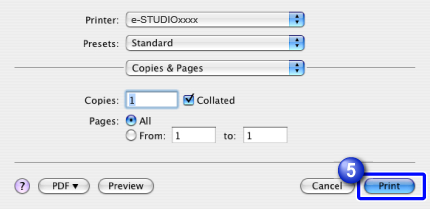
In Mac OS X v10.4.11, click next to [Copies & Pages] and select the settings that you wish to configure from the pull-down menu. The corresponding setting screen will appear.
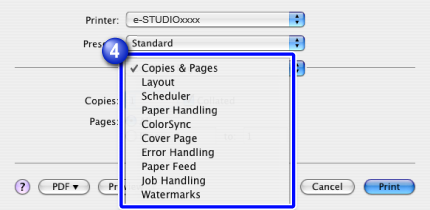
 In Mac OS X 10.5, 10.6, 10.7, 10.8, or 10.9, if the settings do not appear, click
  next to the printer name.
Click the [Print] button to start printing
